How to Draw Birds in Flight for Your Nature Journal
Swifts over a warm street on a July evening. You see them, you lift the pencil, you look down at the page, and they are gone. Flight sketching is like that at first: a run of near-misses and half-birds trailing off the edge of the paper. Then something shifts. You stop trying to draw a bird and start drawing a shape that happens to be moving.
Start with the silhouette, not the species
A bird travelling at speed gives you roughly a second of usable information, and almost none of it is feather detail. Colour, eye stripe, barring: those belong to birds sitting still. What reaches you across the sky is a shape. A kestrel is a hooked cross. A gull is a shallow bow with a blunt head. A swallow is a dagger with two points trailing behind it.
Train yourself to name the shape before you name the species. When a bird appears, think "long wings, deep beats, heavy front end" rather than "buzzard?" The description is what your hand can actually use.
The plastic envelope
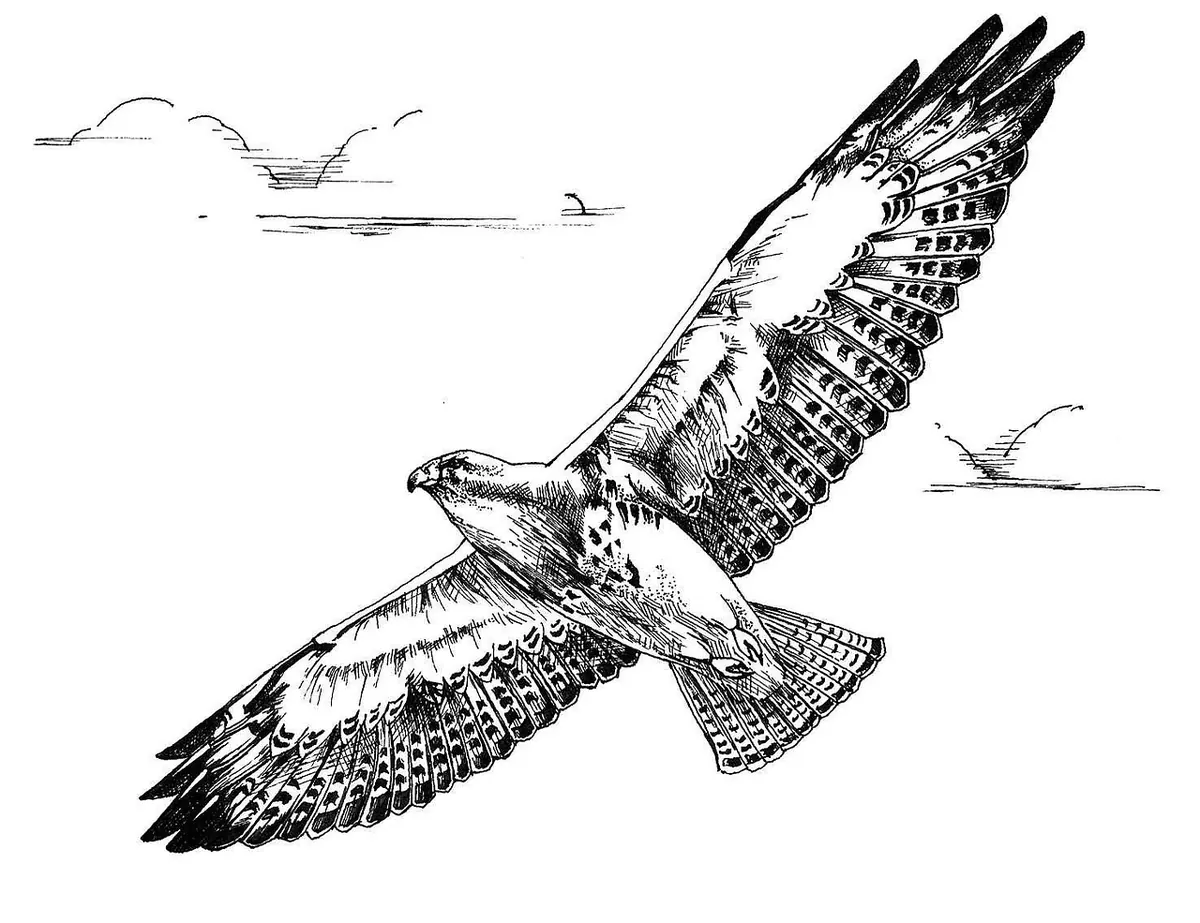
One trick helps more than any other. Imagine the bird sealed inside a tight-fitting envelope of clear plastic, and draw the envelope. The wings stop being two separate problems and become one mass with a peak where the shoulder sits; the body becomes a bulge beneath it. Detail can be added later, if you have time. Usually you will not, and that is fine. A convincing envelope with a wing angle in it reads as a bird in flight far better than a carefully drawn head on a bird that never existed.
Work small, work fast, work loose
Speed comes from scale. A four-centimetre bird drawn in four seconds beats a fifteen-centimetre bird drawn in two minutes, every time, because the bird was still there when you finished the first one. Small drawings need fewer decisions and forgive more mistakes. Keep flight sketches to thumbnail size and you will get three or four attempts out of a single flock passing overhead.
Hold the pencil further back than feels natural, somewhere around the middle of the shaft, and let the movement come from your wrist and forearm rather than your fingers. Turn the book as the bird turns. Do not erase. A wrong line left in place is still a record of what the bird was doing, and your eye learns more from a page of honest misses than from a neat drawing produced at home.
Learn the flight signatures
Birds fly in ways so characteristic that a single outline can carry the species. Once you know these patterns, you can often identify a bird from one glance upwards, which frees your attention for the drawing itself.
- Woodpigeon: deep, clattering wingbeats followed by a short glide on closed wings. The whole thing rolls, and the noisy take-off is part of the picture.
- Buzzard: slow, laboured beats between long glides, wings held in a shallow V. Often circling on a thermal, which gives you the same shape to draw again and again.
- Kestrel: flickering wingbeats, then a stationary hover with the tail fanned and the head fixed on the ground below.
- Swallow and house martin: fast, low, sweeping flight with sudden changes of direction, wings swept back like a bow being drawn.
- Grey heron: unhurried, deep, deliberate beats, the head pulled back and the legs trailing. Nothing else in a British sky moves quite like it.
- Herring gull: stiff, shallow beats on slightly bowed wings, elastic and unhurried. The best bird in the country to learn on.
- Starling: quick, pointed wingbeats; in a murmuration the shape of the whole group changes like something poured rather than flown.
The three-second sketch
This is a method you can use on any bird passing overhead.
- Watch first. Follow the bird with your eye from the moment it enters your view to the moment it leaves. Do not touch the pencil yet. You are learning the path, not the bird.
- Mark the axis. One light line from head to tail, angled in the direction of travel. This single line fixes the pose.
- Draw the near wing. One stroke from shoulder to tip at the angle you saw it. No feather shapes.
- Hint the far wing. Often a short curve behind the body, or nothing at all.
- Close the body. One stroke for the back, one for the belly. Stop there.
- Annotate. Species if you know it, date, place, weather, and a note such as "slow deep beats, glides, four seconds".
Tone comes later. At home, a flat grey wash over the underside will make the whole sketch lift off the page.
Drills for when the sky is empty
You cannot rely on live birds turning up when you have a free hour, so build a practice routine that does not depend on them.
- Play a video of birds in flight and pause it. Give yourself two seconds on the frozen frame, then a black screen, then draw from memory.
- Take a bench in a park or a spot on a harbour wall. Gulls and pigeons are approachable, repetitive and slow enough to flatter you.
- Draw birds coming in to land into wind. Ducks, geese and swans stall at the last moment, which gives you a held pose to work from.
- Sketch the same species twenty times in one sitting. Round twenty is always better than round one.
Memory is the muscle here. Draw the bird immediately after it has gone, from the image still sitting behind your eyes. It will be rough. It will also be more useful than anything you copy from a photograph, because it is yours.
What goes wrong, and what to do instead
Almost every frustrating flight sketch fails for one of three reasons. You drew too big. You drew detail before shape. Or you drew the bird's position rather than its path.
The fixes are unglamorous: go smaller, block the shape first, and let your pencil follow where the bird is going rather than where it is. If a drawing stalls, do not nurse it. Leave it unfinished and start the next one on the same page.
Keep a flight page
Set aside a double-page spread in your journal for birds in flight and add to it every week. Five scribbles counts. Date each session and note the weather; you will soon learn which conditions bring birds low and slow, and which give you nothing but silhouettes against a bright sky.
Keep a small notebook in your coat pocket so an unexpected buzzard does not go unrecorded. At the end of a season, look back through the pages. The early ones will be vague blobs. The later ones will have wingbeats in them, and that is the point. You are not building a portfolio of finished birds. You are teaching your hand to catch them.
Photo: PublicDomainImages / Pixabay