
Common Mistakes When Sketching Wildlife (and How to Avoid Them)
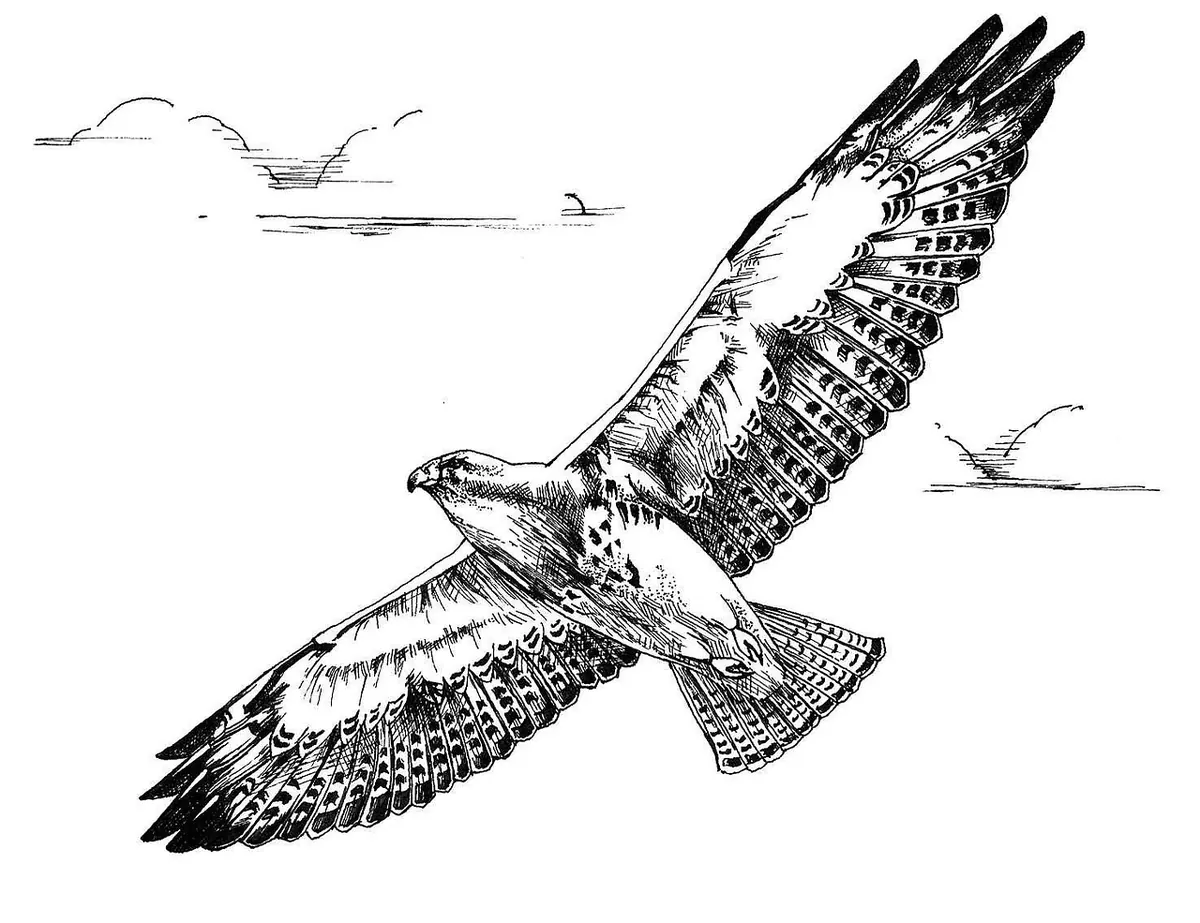
A jackdaw lands on a fence post four metres away. By the time your pencil touches the paper it has tilted its head, flicked its tail and gone. The sketch is a mess, and it is tempting to blame speed or talent. In truth, the same handful of habits cause most of the trouble when drawing animals from life, and every one of them can be fixed with a small change of approach.
The good news is that you do not need to be faster. You need to be smarter about the order in which you do things, and kinder to yourself about what a field sketch is actually for.
Waiting for the animal to hold still
The instinct is to wait until the subject settles, then draw it in one continuous pass from head to tail. Wild animals rarely hold a pose for long enough, and the waiting itself kills your momentum.
Work in passes instead, and treat a moving animal as a series of poses rather than a single one. On your first pass, take about ten seconds and do nothing but the general mass: a blob for the body, a smaller blob for the head, an indication of tilt. On the second, spend a minute or two on structure — the line of the spine, the ribcage, the hips, the main joints. Only then do you add anything specific: the direction of the light, the weight of the beak, the darker feathers on the crown.
If your subject leaves, so be it. Sketch the next one. Most species return to the same perch, branch or patch of ground, and by the third visit you will have a page of poses and a far better understanding of how the creature is put together.
Drawing the idea of an animal rather than the animal in front of you
Everyone carries a set of memory symbols: a cartoon eye, a generic beak, feathers drawn as neat overlapping scales. These are what your hand reaches for when you are under pressure, and they are almost always wrong.
A useful test is to squint until detail disappears and ask whether the silhouette still reads as the species. If it doesn't, the drawing has been built from symbols rather than observation. Start again with the flat shape of the animal — the wedge of a heron's folded neck, the humped outline of a feeding moorhen, the blunt block of a sitting hare — and only break that shape down once it looks right.
Negative space helps enormously here. Look at the gaps: the triangle of sky between a bird's legs, the sliver of light under a wing, the space between a squirrel's ear and the branch. Drawing the holes is often easier than drawing the animal, and it forces you to see what is genuinely there.
Beginning with the eye
The eye is the most tempting thing on the page and the most information-dense, so it gets drawn first. This is a mistake. It is tiny, and once it is on the paper it anchors every proportion that follows, usually in the wrong place.
Block the head in as a single mass first — a wedge, an oval, a box on its side — and find where it connects to the neck and the body. Then place the eye last, when you can judge its position against the beak or muzzle and the shape of the skull. You will place it far more accurately, and you will spend less time rubbing out.
Overworking a sketch that has already gone wrong
There is a moment in every bad sketch when you decide to rescue it. You erase, redraw over the same ghost lines, darken the outline to cover the wobble. Ten minutes later the page is a grey smudge and you have learned nothing.
Two habits prevent this. First, work light in the field, so early marks stay provisional and you can commit to a darker line only once the structure is sound. Second, if the proportions are badly out, start a new drawing rather than repairing the old one. Draw small — four or five studies to a page — so starting again costs you nothing but a few seconds. Keep the failures, too. A stack of bad pages is the clearest record of what your hand does when you are cold, rushed or excited.
Ignoring weight, balance and the line of the spine
Animals are supported structures, but they often get drawn as outlines with legs attached wherever they seem to fit. Heads float, feet dangle, and the whole thing looks like a balloon.
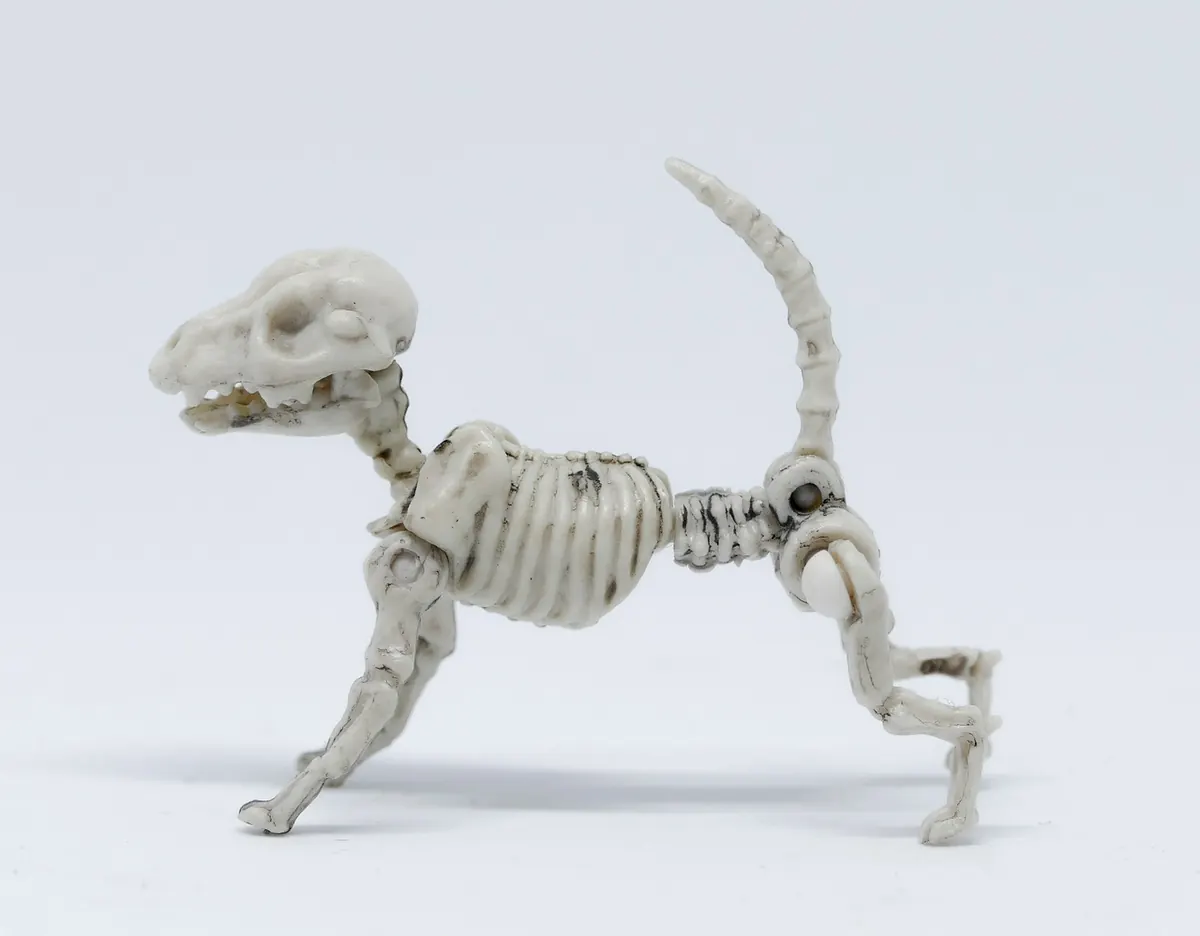
Begin with the spine, from the base of the skull to the tail, and note that it is rarely a straight line — it curves, dips and rises depending on what the animal is doing. Add the ribcage and the hips as masses, then find the feet and the point where the body's weight sits above them. A gull standing on one leg has its body directly over that foot. A squirrel on a branch is resting on its haunches, with the front paws barely touching.
Joints are worth a moment's attention too. Legs bend in particular directions, and a knee or elbow drawn backwards will make an otherwise convincing sketch look wrong at a glance. Where feathers or fur hide the joint, draw the shape you can actually see rather than the one you assume is underneath.
Packing too much kit and taking too few notes
Almost every sketching trip is improved by carrying less. A workable field kit is small enough to fit in a coat pocket:
- An A5 or A6 sketchbook with a stiff cover, so you can draw standing up
- A 2B pencil or two, plus a waterproof fineliner if you like a firm line
- Three or four watercolour pans, or two or three coloured pencils, for quick colour notes
- A water brush if you are painting, and a small cloth to dry it
- Gloves without fingertips, for cold mornings
Just as important is what you write. A sketch without notes is a puzzle, but a few lines alongside turn it into a record you can use later: the date, the weather, the place, what the animal was doing, any call you heard, and the colours you could not mix on the spot. Note the species if you are confident, and leave it blank if you are not.
A routine for your next outing
If you want a structure to work with, try this on your next visit to a local patch.
- Sit still for five minutes before drawing anything, and let the wildlife forget you are there.
- Do ten one-minute gestures of whatever moves, without judging any of them.
- Pick one subject and make three short studies of it — different poses, different angles.
- Take one of those studies further, structure first and detail last.
- Write three lines about what you saw, heard and noticed.
Field sketches are not photographs and should not be measured against them. They record movement, behaviour and attention, and they improve slowly and unevenly: your shapes will get better long before your detail does. Keep your pages, look back at them every few weeks, and you will see the progress you missed at the time. And do keep your distance while you work. Sit quietly, avoid flushing birds from nests or roosts, and follow any local site rules — a sketch is never worth disturbing the animal that made it possible.
Photo: 7898250 / Pixabay