
Sketching Wildflowers: A Beginner's Guide to Botanical Journaling
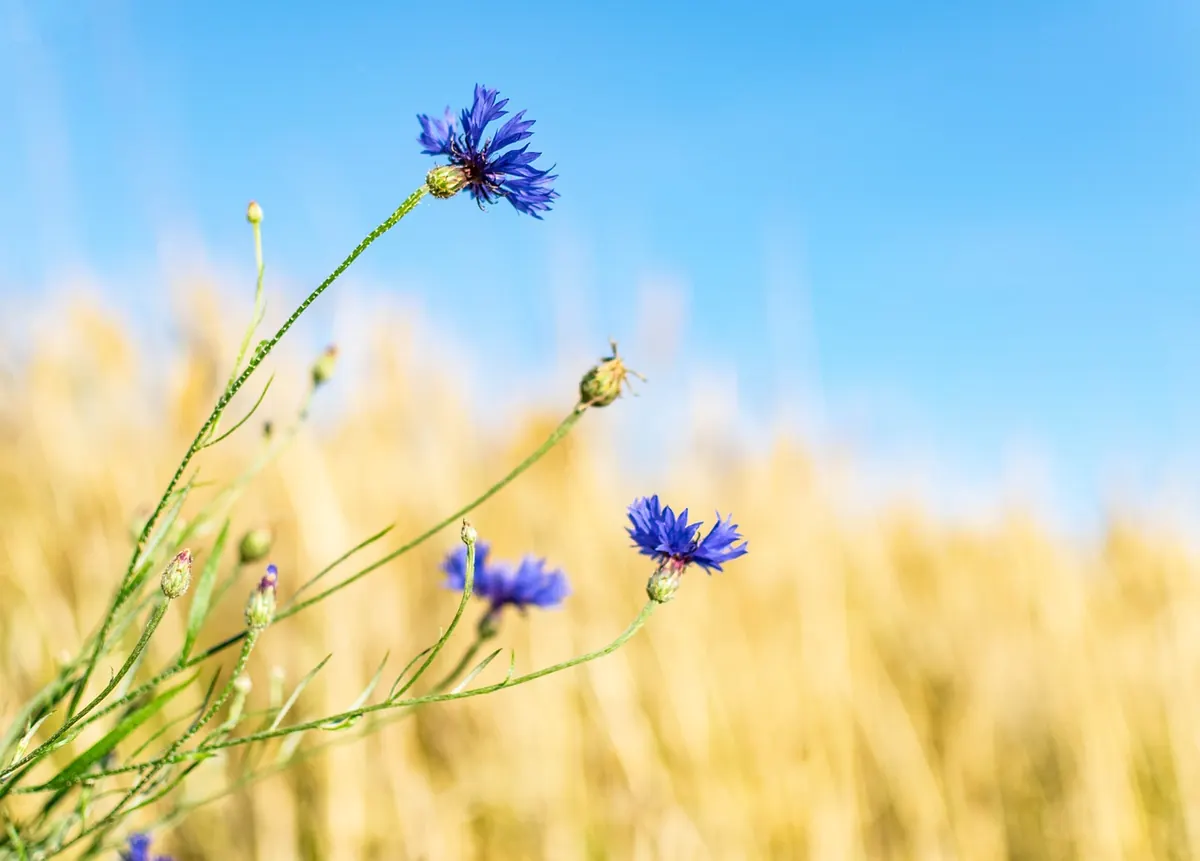
A good wildflower page is not really a picture of a plant. It is a record of an hour in one place: the light on a hedge bank, the date, the smell of the grass, the small structural detail you would otherwise have forgotten by teatime. The drawing matters, but so does everything written around it. You do not need talent for this. You need a pencil, a small box of paint, and the willingness to sit still for twenty minutes.
Start with a kit you can carry in one hand
Botanical journaling collapses if the equipment is too heavy to bother with. Anything you can hold while standing at a verge is the right sort of thing.
- A sketchbook, roughly A5 or A6, with paper heavy enough for light watercolour — around 140 to 200gsm. Stitched or spiral-bound so it lies flat.
- A 2B pencil and a small eraser you can keep clean.
- A waterproof fineliner, around 0.2 or 0.3mm, for tidying up after you have worked in pencil.
- A pocket watercolour tin of eight to twelve pans. Fewer colours forces better mixing.
- A waterbrush, or a small brush and a screw-top jar.
- A 10x hand lens. This single item changes what you notice more than anything else in the bag.
Keep one journal going for a year rather than a shelf of half-finished ones. Date every page, even the bad ones, and write the location at the top. Future you will want to know when that cow parsley was in flower.
Learn just enough botany to see clearly
Most beginners draw a flower from memory: five petals, evenly spaced, a stem underneath. Then they look at the actual plant and find petals joined into a tube, or stamens attached to the throat of the flower, or a head made of dozens of tiny florets. A little vocabulary turns a vague green thing into something you can draw accurately.
Flower shape and symmetry
Ask whether the flower is radially symmetrical, like a buttercup or oxeye daisy, or two-sided, like a foxglove, a dead-nettle or an orchid. Count the petals and note whether they are free or fused. Look at the back of the flower as well as the front; the sepals and the shape of the bud will often explain the drawing that looks wrong on the page. In the daisy family, the "petals" are ray florets around a centre of disc florets, which is why the middle has its own texture and colour.
Leaves, stems and hairs
Note how leaves are arranged: alternate up the stem, in opposite pairs, in a whorl, or all crowded at the base in a rosette. Sketch one leaf from the side to show whether it is flat or folded, and turn it over — the underside is often greyer or hairier. Stems tell a story too. Members of the mint family, including dead-nettles, have square stems; many umbellifers have ridged or hollow ones. A hand lens makes hairs, glands and tiny veins visible, and those details give a sketch its particularity.
Field notes: write first, draw second
Spend five minutes writing before you put pencil to paper. Notes made on site are worth more than a beautiful drawing made a week later from a photograph.
- Where and when. A grid reference if you have one, or a plain description: "south-facing chalk bank beside the bridleway". Add the date, the hour and the weather.
- Habitat. Short turf, hedge bottom, wet ditch, bare ground, woodland edge. Note whether the soil looks chalky, clay-heavy or peaty.
- Habit. Height in centimetres, whether it stands alone or in a crowd, whether the stems lean or rise straight.
- Structure close up. Petal count, fused or free, stamen number and position, the look of the buds and any seed heads.
- Scent and texture. Hairy, smooth, sticky, ridged. Crush a leaf only if you know the plant; never taste an unidentified wildflower, and wash your hands afterwards.
- Company. What grows alongside it and what visits it. A note like "small bees, mid-morning" is part of the record.
Add a small scale bar — 1cm drawn at true size — and a row of colour swatches mixed on the page. Both take seconds and save you later guesswork.
Mixing the colours you actually see
Tube greens are the fastest way to make a wildflower page look false. Mix your own from a yellow and a blue: lemon yellow with a touch of cobalt gives the acid green of spring growth, while adding burnt sienna turns it olive for older leaves and shade. For shadows in foliage, glaze with a violet-blue rather than reaching for black or grey. Dark greens read as dead greens.
For yellow flowers, resist adding more yellow to make a shadow. Buttercup petals are glossy and reflect the sky, so their darker passages lean cool and grey-violet. Whites, such as oxeye daisies or meadowsweet, are mostly the paper left alone, shaped with the faintest warm grey mixed from ultramarine and burnt sienna. Pinks and purples vary enormously depending on the red you choose: a cool rose red with a blue makes clean violets, while a warm scarlet turns the same blue muddy. Test the mix in the margin, label it with the plant's name, and you have a reference for the next page.
Laying out a page that still makes sense in February
Work across a spread if you can: notes on one side, drawing on the other. Put the date, place and weather at the top, then the common name and, if you know it, the Latin name. Botanical names change, so write down the source you used rather than trusting memory.
Vary the scale deliberately. A whole-plant sketch at 10cm tall next to a magnified study of one flower, a leaf edge and a cross-section of the stem gives far more information than a single tidy portrait. Leave white space around the drawing; crowded pages are hard to read later. If a leaf was nibbled or a petal torn, draw it that way. Honest pages are more useful than idealised ones, and they are usually more interesting to look at.
Working from photographs and pressed specimens
Photographs are useful for colour and for details you missed, but they flatten form and lighting. Take a set rather than one image: the whole plant in its setting, the flower from the front, the same flower from the side, a single leaf, and the base of the stem where it meets the ground. Then match your swatches at home.
Pressing is better for leaves, seed heads and winter work than for flowers, which lose their shape quickly. Press between newspaper, change the paper after a day or two, and store specimens in a paper folder rather than plastic, which traps damp and encourages mould. Label each one with date, place and habitat, and only press plants you are confident about and permitted to pick. In nature reserves and protected sites, leave everything where it grows and draw in situ instead.
Begin with one plant
Choose something you can walk past every week — cow parsley along a lane, a dandelion in a pavement crack, the yarrow on a roundabout verge. Draw it six times over six weeks, fifteen minutes a session, and note the date each time. You will watch a rosette become a stem, buds open in sequence, and seed heads form, and you will learn more about plant structure than from twenty different species sketched once.
Keep the pages you dislike. Date everything. The finished drawing is a by-product; the noticing is the point. Put a pencil in your bag before you next leave the house — the verge at the end of your road is already in flower.
Photo: ValeriaLu / Pixabay