
Using Photography to Enhance Your Nature Journal
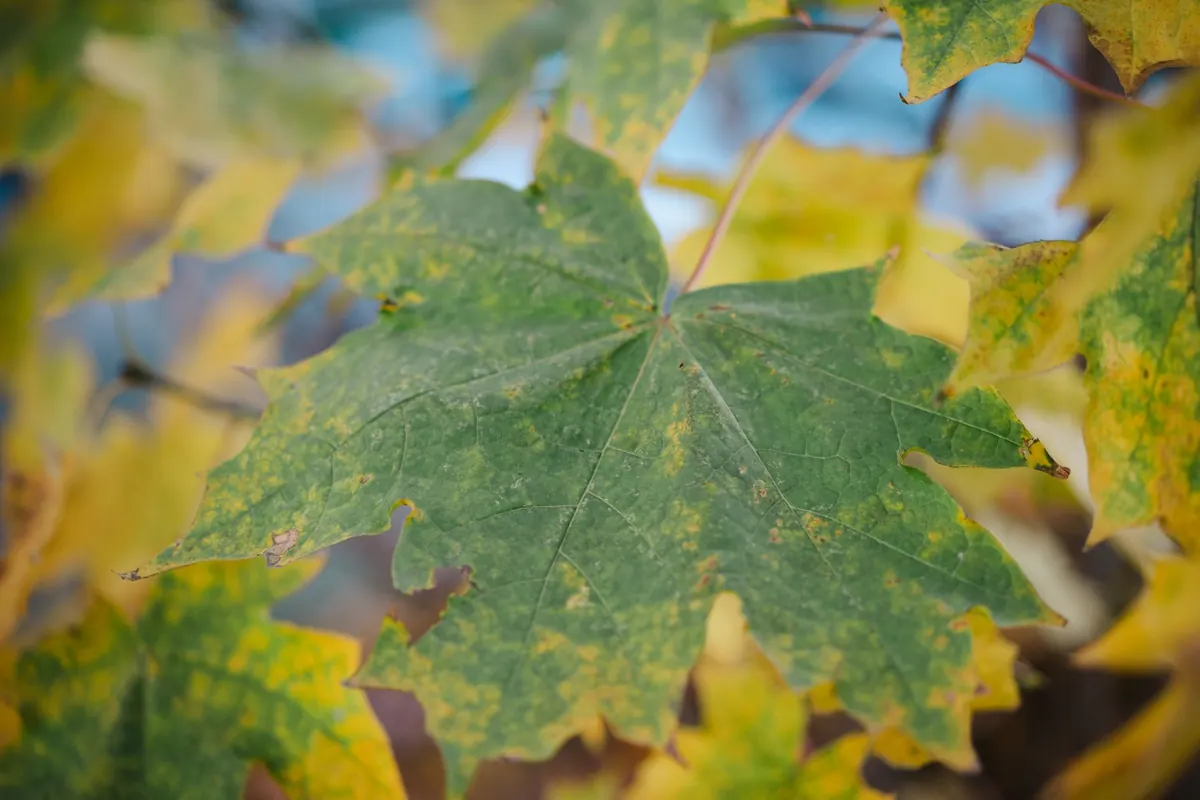
A loose sketch of a hornbeam leaf is only ever as good as your memory of it. Twenty minutes after you close the book, the exact serration is gone, the veining has blurred into a green smudge, and you are left guessing. A camera solves that problem neatly. It holds the detail still while you draw the thing you actually noticed. Used well, photography does not replace the drawing in your journal — it props it up, gives it evidence, and lets you spend your time outside looking rather than memorising.
Photographs as raw material, not the finished page
The most useful shift is to stop thinking of photographs as the record and start thinking of them as notes. A picture of a seed head is no more the finished work than a scribbled measurement is. It is a reference you can consult in February when you want to draw that seed head properly, at the kitchen table, with warm hands.
There is a trap here, and most of us fall into it at least once. The camera becomes a way of not looking — click, move on, click, move on. An hour passes and you have three hundred files and no memory of what the moss felt like. The fix is simple: sketch first, photograph second. Drawing slows you down enough to notice the structure, and the photographs then fill in whatever your pencil could not reach in the time you had.
Capturing detail in the field
Get close, then get closer
Most phone cameras will focus a few centimetres from the lens, which is enough for a petal edge or the hairs on a stem. Steady yourself first — elbows tucked in, or the phone braced against your knee or a fence post. Tap the screen on the part that matters, because the camera will happily focus on the background leaf instead. Take several frames rather than one; the difference between sharp and almost sharp is often just a small shift in your breathing.
Light matters more than gear at this distance. Side light shows texture — the ridges on a dock leaf, the grain of bark — while flat frontal light flattens it. If the sun is harsh, stand so your own shadow falls across the subject, or hold a sheet of white paper at an angle to bounce a little light back into the dark side. Both cost nothing and take seconds.
Shoot for scale and context
A close-up of a fungus is far more useful later if you also know how big it was. Lay a coin, a ruler or your finger beside it for one frame. Then step back and photograph the whole plant, and then the ground it was growing in. Three frames — detail, whole, habitat — will tell you more in six months than twenty near-identical close-ups.
Composing for the page
Composition in a nature journal has a different purpose from composition on a screen. You are not making a photograph to stand alone; you are making one that will sit beside your handwriting. That means leaving room. Frame tall subjects vertically if your page is portrait, and give the subject air around it so you can trim the print without losing the tip of a leaf.
- Turn the camera so the subject sits slightly off centre, leaving one side emptier for notes.
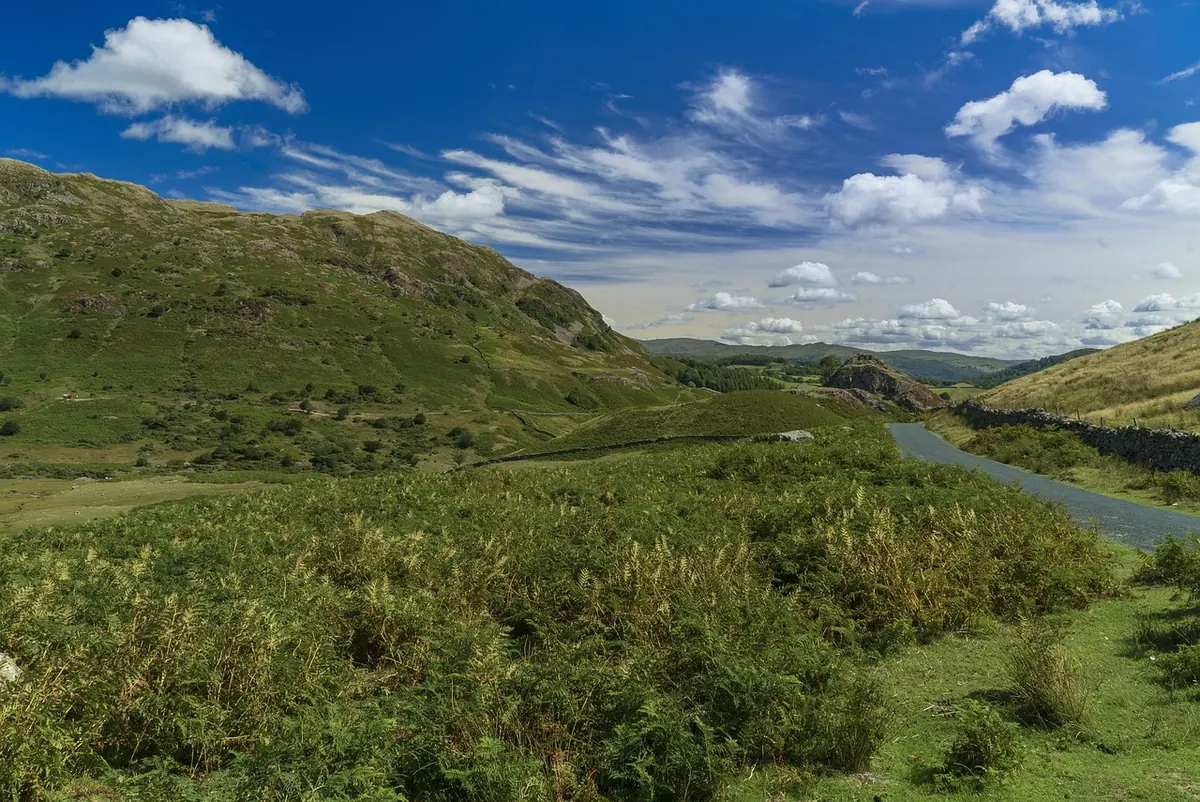
- Use a stem, a path or a shoreline as a line that leads the eye towards the thing you drew.
- Watch the edges of the frame — stray grass and litter are easy to miss and hard to ignore later.
- Photograph one wider view of where you sat, for the memory rather than the subject.
Reading the light
Overcast days
Grey, even light is the quiet workhorse of field photography. Colours stay true, which makes it ideal if you are matching a watercolour wash to a photograph later, and there are no harsh shadows cutting across the shapes you want to draw.
Early and late
Low sun does wonderful things with seed heads, grasses and spider webs, picking out edges in gold. Shadows are long, which gives depth. The trade-off is that colours shift warm, so note the time in your journal and trust your eyes over the screen when you mix paint later.
Bright middays
Harsh overhead light is the hardest to work with. Shade the subject with your body or a hat, or find something that is already in shade. Backlight is worth trying too — hold a leaf up against the sun and photograph the veins showing through. Add a line in your notes about the conditions; it explains why the colours look the way they do.
A simple routine that keeps you drawing
- Sit or stand still for five minutes before you take anything out of your bag.
- Sketch the overall shape loosely, in pencil, without worrying about accuracy.
- Photograph two or three details you cannot draw quickly — the underside of a leaf, the bark, the seed structure.
- Write the date, place, weather and anything you heard or smelled alongside the sketch.
- Take one wide shot of the scene to fix the day in your mind.
- File the images that evening under the date, before they vanish into a camera roll.
Printing, mounting and annotating
Prints hold their place on a page in a way that a phone never will. Keep them small — around 6 × 4 cm suits most journals — and print on matte paper if you can, because glossy surfaces fight with pencil and catch the light when you read back. A contact-sheet layout, with several small frames on one sheet, is cheap and useful for sequences like a leaf opening over a fortnight.
Fix them down with a glue stick, double-sided tape or photo corners, and leave a margin of paper around each one so you can write next to it. Then annotate: an arrow to the feature you were puzzling over, a colour note in your own words, a reminder that the photograph does not show scent or movement. A short caption of date, place and name is enough. If you are unsure of the species, write “check later” and mean it.
Not every page needs an image. Some of the best spreads in a nature journal are a rough drawing, a smudge of mud, and three honest sentences. Use photographs where they earn their place.
Start with one detail
On your next walk, choose a single subject and do both things: spend ten minutes drawing it, then take three photographs of it — close, whole, and in its setting. Print them the same week and stick them in beside the sketch. Notice what the drawing caught that the photograph missed, and what the photograph caught that your pencil did not. That comparison, repeated over a season, is how a journal becomes something you actually return to.
Photo: 652234 / Pixabay